;
We have seen different social media widgets in most of the blogs. A blog without social media is an
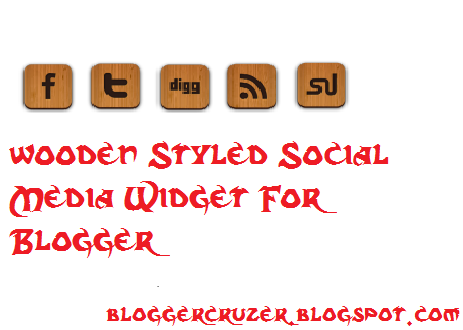
incomplete blog. For making a blog complete and more advanced, social media is highly required. So, in this post, we will be discussing on adding social media widget for blogger. In this post, we will be discussing on Adding OS X Styled Sharing Widget For blogger. Have you ever used MAC OS X. If you have used, you may find a Desk Like Thing where all apps are placed and when we hover on it, it starts to move. The Widget is same like that.
For Live Demo, you can click below Link:
LIVE DEMO
Or you can watch the picture on the right side.
Now Let's Add This.
Follow My Steps To Add This:
- Go To Blogger Dashboard
- Click On Layout
- Click On Add A Gadget
- Select HTML/JAVASCRIPT
- Copy and paste the given codes there
<!-- bloggercruzer.blogspot.com !-->
<style type="text/css">
  #sharedock { position: fixed; bottom: 0; left: 0; width: 100%; height: 90px; z-index: 999; }
  #dock { position: relative; bottom: 0; font: 13px "Trebuchet MS", Verdana, Helvetica, sans-serif; }
  .dock-container { position: relative; background:url(https://blogger.googleusercontent.com/img/b/R29vZ2xl/AVvXsEisEnfuNJjbtZHGqz5Fm7VvAurkb29IGwG5vhUY4_Gwm-BSpGgnvIa494-aZfcfAfi_E_zXPP1IHNMkcmXjmgSjzhzXIVg6bBeHt9BqgT_f3uAL6r42mYC8QDVHzuTA-lBjSx72HaZKMG0z/s1600/bloggertrix1.gif) no-repeat bottom center; height: 50px; padding: 20px 0 20px 0; }
  .dock-container .custom_images a { display: block;  position: absolute; bottom: 0; text-align: center; text-decoration: none; color: #333; cursor: pointer; }
  .dock-container .custom_images span { background: rgba(0,0,0,.75); display: none; padding: 2px 8px; margin-left: 17px; font-size: 11px; color: #fff; -moz-border-radius: 10px; -webkit-border-radius: 10px; }
  .dock-container .custom_images img { border: 0; margin: 5px 0px 10px 0px; width: 100%; }
  </style>

<div id="sharedock">
  <div id="dock">
  <div class="dock-container">

<div class="addthis_toolbox">

 <div class="custom_images">

 <a class="addthis_button_facebook"><span>Facebook</span><img src="http://addthis.com/cms-content/images/gallery/aquaticus_facebook.png" alt="Share to Facebook" /></a>
  <a class="addthis_button_twitter"><span>Twitter</span><img src="http://addthis.com/cms-content/images/gallery/aquaticus_twitter.png" alt="Share to Twitter" /></a>
<a class="addthis_button_myspace"><span>MySpace</span><img src="http://addthis.com/cms-content/images/gallery/aquaticus_myspace.png" alt="Share to MySpace" /></a>
<a class="addthis_button_stumbleupon"><span>Stumble</span><img src="http://addthis.com/cms-content/images/gallery/aquaticus_stumbleupon.png" alt="Stumble It" /></a>
<a class="addthis_button_reddit"><span>Reddit</span><img src="http://addthis.com/cms-content/images/gallery/aquaticus_reddit.png" alt="Share to Reddit" /></a>
<a class="addthis_button_delicious"><span>Delicious</span><img src="http://addthis.com/cms-content/images/gallery/aquaticus_delicious.png" alt="Share to Delicious" /></a>
  <a class="addthis_button_more"><span>More...</span><img src="http://addthis.com/cms-content/images/gallery/addthis_64.png" alt="More..." /></a>
  </div>
  </div>
  </div>
  </div>
  </div>

  <script type="text/javascript" src="http://s7.addthis.com/js/250/addthis_widget.js"></script>
  <script type="text/javascript" src="http://ajax.googleapis.com/ajax/libs/jquery/1.3.2/jquery.min.js"></script>
  <script type="text/javascript" src="http://addthis.com//cms-content/images/gallery/fisheye-iutil.min.js"></script>
  <script type="text/javascript">
  $(function () {
  // Dock initialize
  $('#dock').Fisheye(
  {
  maxWidth: 30,
  items: 'a',
  itemsText: 'span',
  container: '.dock-container',
  itemWidth: 50,
  proximity: 60,
  alignment : 'left',
  valign: 'bottom',
  halign : 'center'
  }
  );
  });
  </script>
- Save The Gadget
- Save The Template
- Check Your Blog
All Done. If you have any problems regarding this, Comment and I Shall be Helping You. Happy Blogging

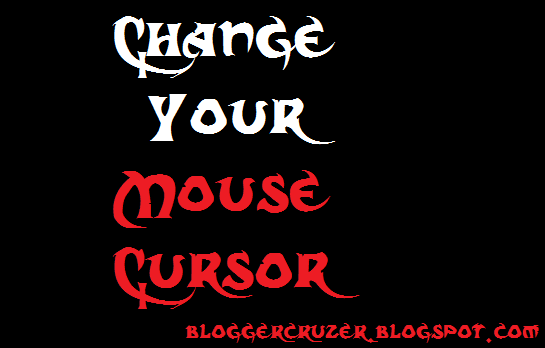 Hi guys, It's me again and today, I'm going to show how to change your blogger mouse cursor. The


.PNG)